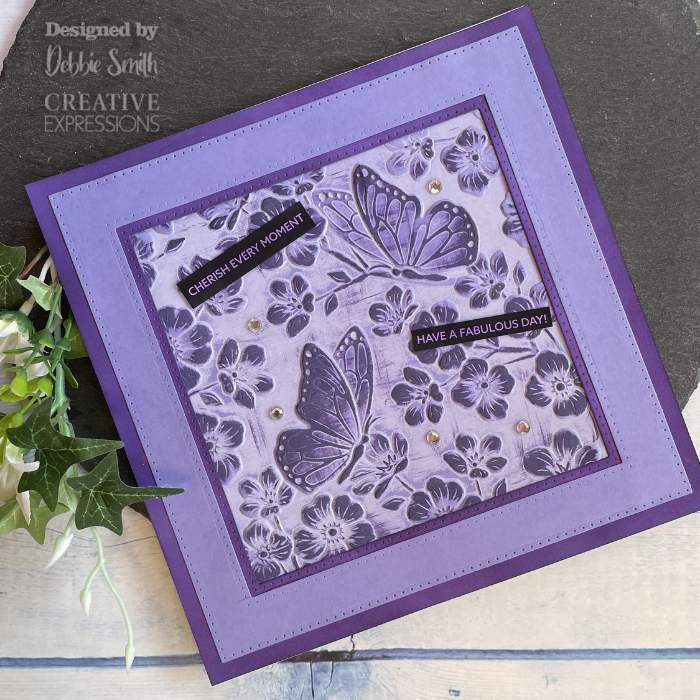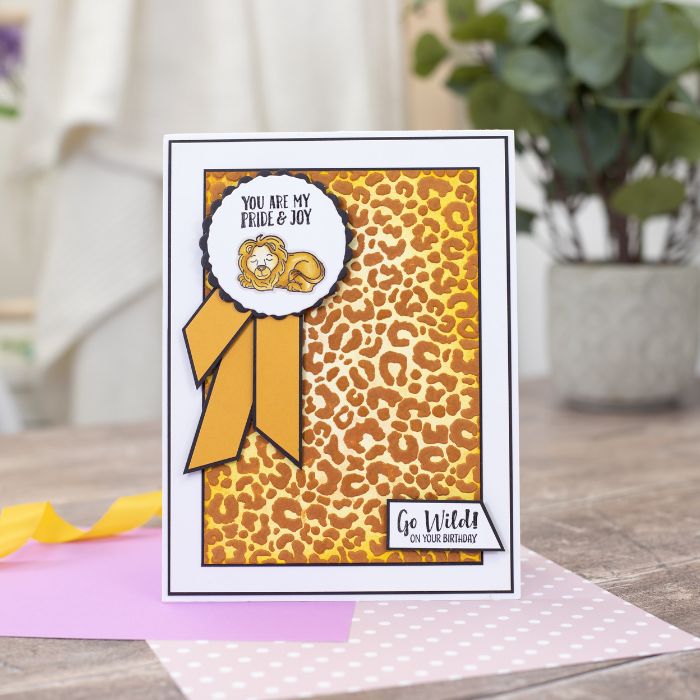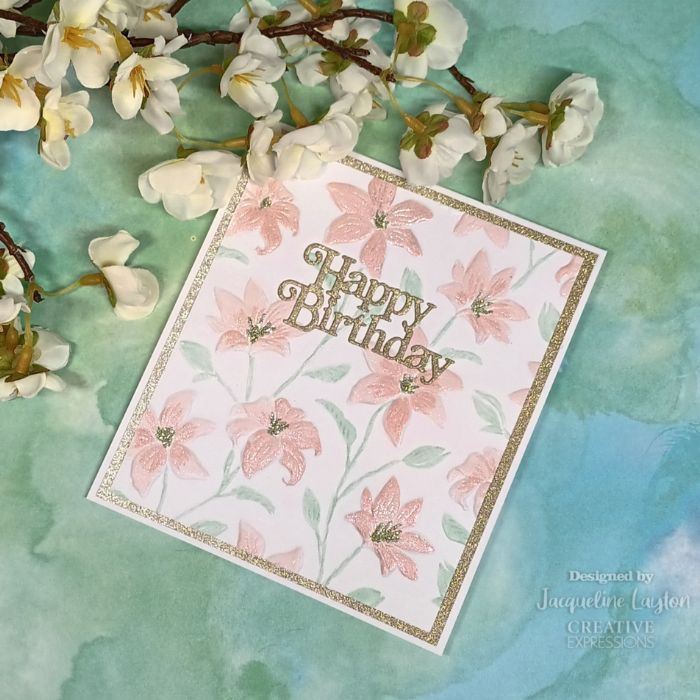
Embarking on a creative journey in the world of paper crafting is an exciting adventure. Among the many fascinating tools and techniques you'll encounter, embossing folders are a versatile addition to your crafting arsenal. Whether you're a seasoned crafter or a beginner looking to explore new horizons, embossing folders can add texture and dimension to your projects.
In this beginner's guide, we'll walk you through the basics of embossing folders, explain how they work with die cutting machines, and provide five top tips for getting started.
What Are Embossing Folders?
At their core, embossing folders are innovative tools designed to create raised or recessed patterns on paper, cardstock, and other crafting materials. They are typically made from durable plastic and feature intricate designs or patterns on their surfaces, from elegant floral patterns to geometric shapes, allowing you to add intricate details and textures to your projects.

How Do Embossing Folders Work with Die Cutting Machines?
Embossing folders seamlessly integrate with die cutting machines, forming a dynamic duo in the realm of paper crafting. The process begins by placing a piece of paper or cardstock within the open embossing folder, aligning it with the chosen design or pattern.
Once the material is securely positioned, the embossing folder is sandwiched between the appropriate cutting plates of the die cutting machine. The machine applies controlled pressure, effectively pressing the embossing folder and the material together. This pressure transfers the intricacies of the embossing folder's design onto the surface of the paper or cardstock, creating either raised or recessed impressions, depending on the specific embossing folder used.
The die cutting machine ensures consistent and even application of pressure, resulting in a beautifully embossed piece. This harmonious collaboration between embossing folders and die cutting machines empowers crafters to effortlessly add texture and dimension to their projects, elevating the visual appeal and creative possibilities of their paper crafts.

Five top tips for getting started with Embossing Folders
Choose the Right Paper
Opt for a good quality, medium-weight cardstock or paper for your initial embossing experiments. This ensures that the embossed design is clear and defined. Avoid paper that is too thin, as it may tear during the embossing process.
Prep Your Embossing Folder
Before placing your paper in the embossing folder, make sure the folder is clean and free from any debris or residual ink. A clean embossing folder ensures a crisp and clear embossed design.
Practice with Scrap Paper
Before diving into your main project, practice on scrap paper to get a feel for the pressure needed and to ensure proper alignment. This helps you become comfortable with the process and reduces the risk of mistakes on your final project.

Don't Over-Ink
If you're using ink to highlight the embossed design, apply it lightly. Too much ink can obscure the detail, making it less visible.
Emboss Small Elements
Embossing isn't limited to large areas. Try embossing smaller elements like sentiments or borders to add subtle texture and detail to your projects.


